
Are you thinking of making a DC motor yourself? Then you are lucky to be landed in this page. Here we discuss how to make a simple dc motor yourself at home.
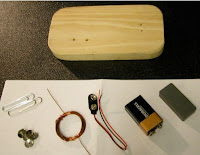
Components Needed
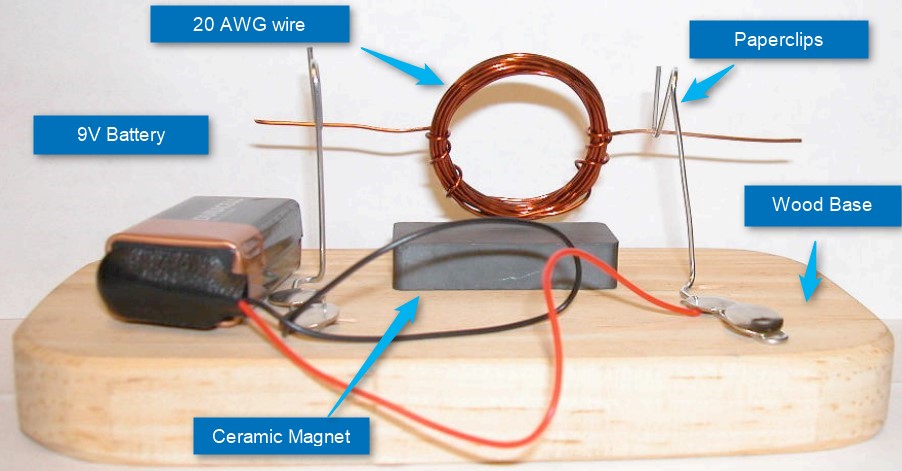
- 20 AWG magnet wire
- 9 Volt Battery
- Battery snap wire leads
- Paperclips
- Ceramic Magnet
- Wood base
Procedure to Build Simple DC Motor
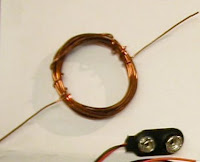
Wind 20 AWG magnet wire around a small cylindrical object (i.e. film canister, D-cell battery) making 12-15 loops. This pack of coils is called the rotor. Leave about 2 inches of straight wire on each side of the rotor.
Hold the loop vertically by placing your thumb through the center of the rotor. Place one of the straight sections of wire on a flat surface.
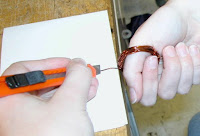
Using a razor blade, strip ONLY the TOP surface of the wire. Be sure not to strip the sides or the bottom, just the top. Strip the wire from the coil all the way to the end of the straight section.
Strip the other straight section of wire completely – top, bottom, and sides.
Prepare to assemble the motor. Place the ceramic magnet in the middle of the wooden base. Bend two large paperclips as shown below.
Using thumbtacks, secure the paperclips to the wooden base. Secure one paperclip at each end of the magnet.
Place the rotor in the paperclip supports. When the loop of wire is oriented vertically, the plane of the loop should be directly over the magnet. Adjust the magnet and/or supports accordingly.
Attach the battery snap to the battery. If desired, secure battery to base using electrical tape.
Touch (or secure with electrical tape) the black lead from the battery snap to the thumbtack that is securing one of the paperclips.
To complete the circuit, touch (or secure with electrical tape) the red lead from the battery snap to the thumbtack securing the other paperclip.
Give the rotor a little nudge, If the rotor spins … A working motor!



Comments are closed.