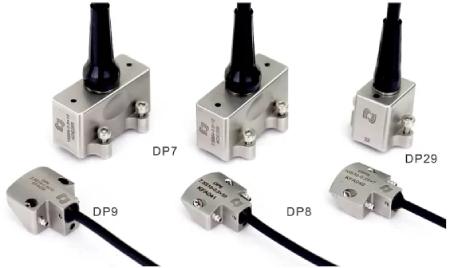
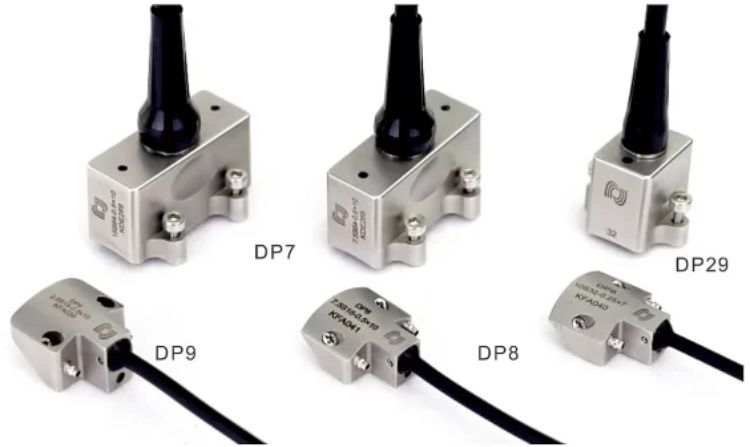
The elements inside the Phased Array Transducer are arranged in a linear pattern as a general rule. The element patterns in phased array probes are the required patterns of the ultrasonic beam.
When an ultrasonic beam is propagated from a specific element to a particular point, these patterns are formed. At that point, the beam strength, angle, and length must be known to locate the flaw with high accuracy.
What is a Phased Array Probe?
A phased array is a collection of ultrasonic transducers that use electronic scanning to fire successive groups of elements in an array. This can be done electronically, with high-speed digital technology, or mechanically, with mechanical scanning.
It is a comprehensive non-destructive inspection technology that employs a phased array ultrasonic testing probe comprised of many tiny components. It is an advanced non-destructive inspection technique that uses a set of ultrasonic testing probes made up of numerous small elements.

A phased array probe utilizes a single element (such as an air piston) for each pulse of sound made by the transducer. The beam’s focal point projects the direction and shape of the sound and its intensity as it propagates through space.
The main limitation to this type of probe is that it cannot be used for high-speed scanning and must also be operated manually (instead of automatically).
How does Phased Array Work?
Like a conventional Ultrasonic Flaw Detectors, phased arrays use transducers to create an ultrasonic field. But instead of sending a single beam out in all directions, the elements of a phased array are fired in multiple directions at different angles, allowing you to capture several signals at once, see the entire cross-sectional area of the material or part being inspected and detect flaws that would otherwise be missed.
This design allows PAUT to capture images of complex geometries and intricate components while maintaining high-resolution information and providing excellent flexure and corrosion detection.
How are the Element Patterns of Phased Array Probes?
1. 1D linear:
The elements are arranged in a line based on the angle at which the test is performed. 1D linear can detect avoid with a much higher resolution than 2D linear but requires that there be no voids before them. It is frequently used for flat plane inspection.
2. 2D square:
In this configuration, the elements are arranged in a square pattern. The result can be as good as that of 1D linear and, when used with a 2D detector, will provide higher resolution by using more elements. This type is commonly used for detailed flat-plane inspection, sectioning, and machining.
3. 1.5D square:
This arrangement of elements is more versatile than the two above. The 1.5D probe has a square sensor head, and it uses a 1D element pattern. With this arrangement, the inclination angle of the array can be changed, making it possible for a single probe to inspect complex geometries.
4. 1D Annular:
The 1D annular array uses 360 degrees of elements to provide a complete spherical scan, meaning no dead zone. Advanced electronics allow for real-time imaging, meaning the inspection can be viewed immediately following the test.
5. 2D Annular:
To perform a 2D annular array scan, the probe mounts a 2D annular sensor and a differentially scanning detector at each end of the round head. Again, advanced electronics allow for real-time imaging, meaning the inspection can be viewed immediately following the test.
6. 1D Circular:
The 1D circular (circular and radial) is an advanced array that can perform various inspections. It combines multiple-element patterns, creating ahead to inspect complex geometries and perform different tests. The result is a probe capable of performing other tasks by changing its configuration.
Conclusion
Phased array probes use multiple elements to produce an ultrasonic beam. These patterns contain information on the sound wave’s divergence angle, beam length, and slope. To examine only specific parts of complex geometries, phased array probes have a variety of geometric shapes and element arrangements.
NDT-KITS is a high-tech company that focuses on the research, development, and manufacturing of ultrasonic equipment and ultrasonic probes. Our company established the first digital ultrasonic flaw detection equipment in China in the year 1988. Our enterprise continues to devote itself to nondestructive testing, and we are the leading manufacturer of nondestructive testing instruments in China.


